Beginner's Guide to Mountain Biking
If you’ve never been mountain biking before, prepare to experience the most fun you can have on two wheels. Getting to grips with mountain biking is a challenge, but with a firm grasp of mounting biking basics, you can hit the trails in complete confidence. Within no time you’ll be tackling tough trails, mastering mountains and destroying downhills.
In our beginner’s guide to mountain biking, we provide 10 pieces of essential advice that every mountain biker needs to know before they get started.
Read on for fundamental skills, top bike selection tips and accessible locations to tune-up your technique. As well as that we've got some fantastic features to make sure you're equipped for day-to-day mountain bike life.
Scroll down to explore…
How to choose a Mountain Bike
Choosing a model
It's simple - just sit on a bike! The most important thing is reach, because while you can adjust the seat height, you can't alter the length of the frame. Prioritise control and be sure you can comfortably shift your weight behind the saddle while on the ride. Check out our guide for how to find the right size mountain bike for more details.
The best wheel size
…is personal preference! 27.5" wheels are agile and light, while 29" wheels are perfect for straight lines (but less ideal for winding trails). Rider height is also important; for instance, a smaller rider may find 27.5" wheels more manageable.
The best tyre type
This varies with the trail. Thin, shallow treads suit rides on dry ground, whilst wider, deeper tyres are perfect for muddy meanders. Try to get a balance between what suits you and where you will be riding.
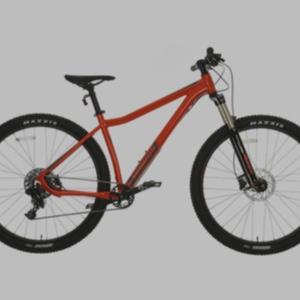
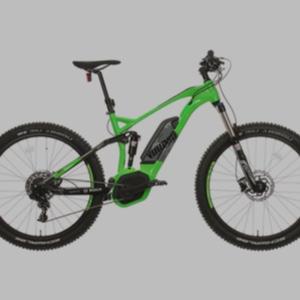
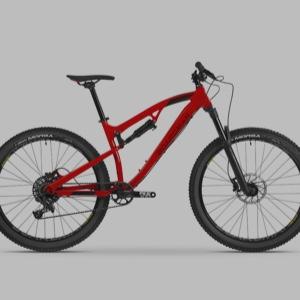
So now you know the basics you're probably thinking, "What type of MTB should I buy?" Check out your options below or check out our range of EMTB trails for beginers
Basic Mountain Bike (MTB) Skills
MTB Trail Grading Guide
At trail centres, you'll find an array of coloured arrows indicating different potential routes. For a beginner, this could prove to be a bit of a puzzle. What do the arrows mean? What trails should you take?
In fact, these arrows represent the UK's standard trail grading system. Here's what they mean:
-
Green Routes
These are the easiest, with smooth, wide tracks and shallow climbs. A perfect fit for beginner mountain bikers and families.
-
Blue Routes
Blue is the next step up, requiring reasonable fitness and some biking experience. You'll meet short steep climbs, loose surfaces and tree roots. They're a great way of building up your MTB confidence.
-
Red Routes
Red demands experience and technical skill. The trail width often decreases to singletrack, demanding riders to pass in single file. Expect berms, stones and steps, and be sure you're ready to master these obstacles before attempting.
-
Black, double black, orange
The trickiest trails solely for experts, featuring unforgiving gradients and obstinate obstacles. Ones for the future.
Trail gradings can vary from centre to centre, so we'd recommend research in advance. Our advice is to stick to greens and blues. However each of the centres featured have reds and blacks as well, so you'll be able to progress once you're ready!
We've rounded up some great trail centres for beginners in the UK's favourite MTB locations. Read on to find out about Mountain Biking near big cities and trails in Wales, Scotland, the Peaks and the Lakes!
Trails Near Big Cities
The UK has plenty of great locations for escaping the 9 - 5 and getting back in touch with nature. We've compiled four of the best MTB trail centres for beginners, just an hour's drive from some of the UK's biggest cities.
Mountain Biking in Wales
Wales is well loved as the heartland of British MTB. From Snowdonian adventures to rugged routes within reach of big cities, Wales has something for everyone. There's a huge variety of trail centres and routes to pick from, but we've selected four of our faves.
Mountain Biking in Scotland
Rugged woodland rides define mountain bike trails in Scotland. In recent times the Forestry Commission has invested heavily into the 7stanes: seven trail centres every Mountain Biker should try out. Routes are well maintained and great fun for beginners and experts alike!
MTB Trails ScotlandMountain Biking in the Lake District
The Lake District is a scenic location for mountain bike holidays. There's plenty of beginner riding to be had in the foothills of England's highest peaks. Try out its two dedicated trail centres or wind your way around the waters.
Robert Thorpe,
Pedal North
The Peaks offer uber-accessible Mountain Biking in the North of England. Whilst the region has no dedicated trail centres, there is still plenty of cycling for a beginner to explore. Robert Thorpe from Pedal North tells us more…
Mountain Biking in the Peak District
If you draw lines between Leeds, Manchester, Sheffield and Derby, they converge right in the heart of the Peak District. The Dark Peak to be exact, near Hathersage and Edale. Not surprising, as this was the first and still is our favourite National Park. It's a haven for sports like mountain biking - if you know where to ride.
Ladybower Reservoir quenches the thirst of these cities with easy and well marked out trails to suit all levels of rider. For the adventurous beginner willing to ride uphill superb views await you, with swooping descents adding smiles to the miles, before you return to the visitor centre for refreshments. Many of the nearby gritstone edges also have bridleways to test your new found skills on too.
Further south at Ashbourne, the High Peak and Tissington Trails converge. Nearby bridleways weave through the picturesque valleys around Hartington. These provide easy trails for beginners as well as the more advanced rider. All you need is a sense of adventure. The National Park visitor centres provide excellent riding information, including routes, to make this area a bikecation sensation.
Mountain Bike Trails Peak DistrictThe Gear List
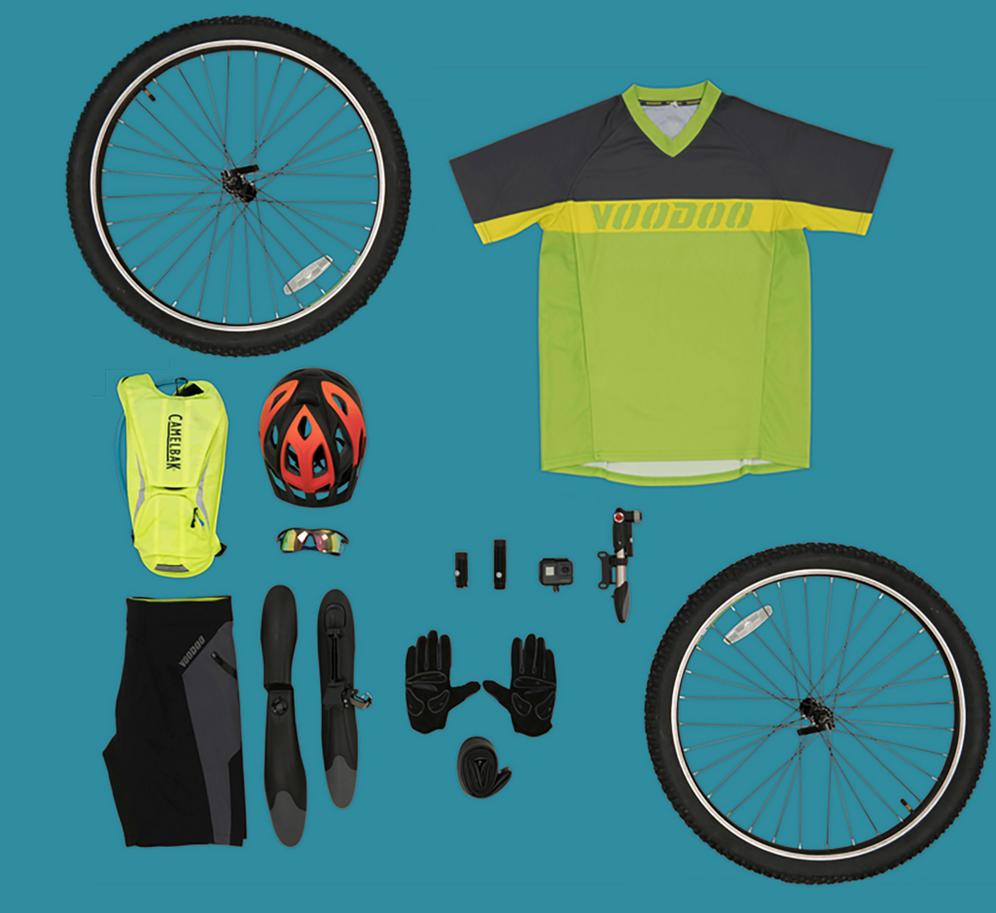
So you've found your dream bike, picked up some skills and worked out where to take it for a spin. Now it's time to get your gear and accessories organised. But what to bring? Our MTB experts put together this list of things you can't miss:
- A pair of gloves will keep your fingers warm and give additional grip. They'll also add protection from any falls!
- Although getting mucky is part of the thrill, mudguards keep off the worst dirt and prevent you from getting soaked through.
- Lights are essential for low-lit or night time rides!
- Shorts or trousers? It's a great Mountain Bike debate, which ultimately comes down to personal preference. See what suits you!
- Helmets are a universally accepted part of MTB kit. You'll thank us if you take a fall.
- Grab a few jerseys and you can be set for any season. Whether you're after breathability on summer rides or winter warmth, unrestricted movement is key!
- Going out on a big adventure? A hydration pack or water bottle is a must.
- Packing a spare inner tube and bike pump will prevent a flat from ending your day.
- Glare-free glasses save you squinting on sunny mornings.
- Finally, grab an action camera to record your best moments on the trail!

Fiona Outdoors
To ensure everyone enjoys their time on the trail, the best riders are friendly and considerate. Fiona Outdoors gives us her top tips for etiquette in the saddle:
Etiquette on the trails
- Make yourself known: When approaching walkers or horses out and about, be sure to let them know without startling them. Slow down and ping your bell. On the trail, a cheery "Coming up behind you!" or "Rider on your left/right!" will do!
- Left is right: Just like driving, ride on your left. This lets riders going in opposite directions pass one another with ease. This is essential on narrow or tricky terrain.
- Patience is a virtue: If you find yourself closely following another rider, either on a long trail or any stretch of single-track, stop and give them space. That way, you can ride after them as fast as you like!
- Perfect partners: Cycling while chatting with a friend is a great way to ride. However, be courteous. Ensure you're always giving other riders enough room and not bumping handlebars.
- The Good Samaritan: The best mountain bikers always stop to help a rider in distress. Even if it turns out that they didn't need a hand after all, it's always favourable to ask!
Adele Mitchell
If you're new to the Mountain Bike world, the vocab can be as treacherous as any of the trails. Don't worry though! MTB blogger Adele Mitchell has given us a rundown of some key terms to take note of…
MTB Slang
- Trail
- where you ride your mountain bike! Trails may be natural or man-made, and the latter may be graded for difficulty, similar to ski runs.
- Singletrack
- a narrow mountain bike trail that is only wide enough to ride in single file.
- Berm
- a banked corner on a singletrack trail that allows you to carry more speed through that section.
- Drop-off
- a short, steep drop over rocks, roots or a natural step.
- Roll up
- the uphill version of a drop-off!
- Root garden/rock garden
- a section of trail that is particularly rooty or rocky.
- Gnarly
- describes technically demanding terrain such as roots and rocks that test your riding skills.
- Tabletop
- a purpose-built mound of earth with a wide, flat top that can be jumped or rolled.
- Gap Jump (or double)
- a jump with a space in the middle that needs to be cleared.
- Air
- what you get in the split second when both wheels are off the ground over a jump or drop.
- OTB (‘Over the Bars’)
- falling off face-first when you hit an obstacle or land a jump incorrectly. Best to be avoided.
- Shred
- riding with a high degree of skill, at speed.
- Flow
- a fast, exhilarating trail, and also the term for that euphoric moment when you are riding that trail at your best and loving it. In other words, the reason we ride.
Our Top 10 Mountain Biking Tips
In our beginner’s guide to mountain biking, we provide 10 pieces of essential advice that every mountain biker needs to know before they get started.
- It’s all about the bike
- Decide on your discipline
- Start Slow
- Be Gentle with the brakes
- Maintain Momentum
- Use your body
- Lean the bike not your body
- Face where you want to go
- Master the front wheel lift
- Master conscious planning
Mountain bikes are performance machines designed to tackle the toughest terrain, steepest climbs and fastest descents. Before riding, ensure your mountain is serviced and set up and that it’s comfortable and safe to ride.
You should be able to ride it comfortably, reach the brake levers and operate the gears. Spend some time in your garden or even on the roads getting to grips with your bike before you hit the tough stuff.
Mountain biking is a catch-all term for a whole range of different disciplines. There’s cross country, all-mountain, downhill, endure and a whole lot more. These terms may not mean much, but when buying a bike or setting it up correctly, you’ll want some idea of how you’re going to be using the bike.
If you’re starting out, go for an XC bike. These are built for light to medium trails riding.
Mountain bike trails are graded according to their difficulty. You may be an experienced road rider or a fitness fanatic, but be realistic about your abilities. Trails can include challenging obstacles that you’ll need to ride under, over, down and up, providing a physical and mental challenge.
As you’re getting to grips with your bike and off-road riding be cautious.
Most modern mountain bikes come with powerful disc brakes. These provide accurate braking that can come as a surprise if you’re used to the progressive braking you get from calliper brakes.
Jerk on the brake lever and you can quickly find yourself on the floor or even worse, over the top of your handlebars.
Momentum on a mountain bike is your friend. Whatever stands in its way, your bike wants to keep moving forward – and so do you.
It may seem counterintuitive to maintain your speed or even speed up when you approach an obstacle, but in many cases, it’s the best way to tackle it. Fat tyres and suspension at the front and sometimes rear will smooth out the ride.
On a mountain bike, you need to shift your bodyweight to tackle obstacles and impediments. You can use your weight to maintain forward momentum and traction. When you’re heading downhill shift your weight to the back of the bike. Hitting an incline then lean forward. When your bike is leaning left, lean right to provide a counterweight.
Some of this is intuitive as you seek to keep the bike on the road, but your skills will improve over time. For some inspiration, check out some of the incredible riders on YouTube.
Cornering on a mountain bike is as much a science as an art. Plan your way through a corner and position the bike before you reach it.
The aim is to maintain your momentum and accelerate out. Have both feet on the pedals and lean the bike into the turn, but not your body.
On a mountain bike, wherever you’re looking is where you’re going. Spend too long looking at that tree or rock, and you’re going to hit it.
As you’re tearing through a trail, face where you want to go. Keep your head upright and look ahead. If you focus too much on the front wheel, or on other obstacles, you’ll run - or ride - into trouble.
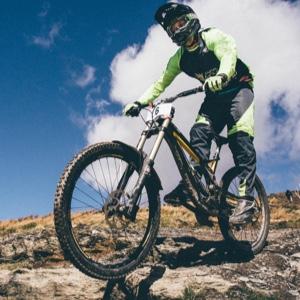
One of the most basic and essential moves you need to learn is the front wheel lift. By lifting the front wheel off the floor, you can clear many of the obstacles you’re likely to encounter.
When you’re approaching an obstacle load the front suspension by pushing your weight down. As the suspension rebounds lift the handlebars and the front wheel should come off the ground. Feel good? It should – you’re mastering mountain biking basics.
Mountain biking is about tackling technical courses and obstacles in a safe and fun way. It’s all about planning your course out. Think about how you’re going to tackle obstacles, assessing and deciding upon the safest course through any terrain. Experienced riders process this subconsciously, but in the beginning, it can be worth saying it to yourself.
This visualisation process can work off the bike too. If you regularly ride a trail or track, think about how you’ll tackle certain obstacles. Seeing is believing!


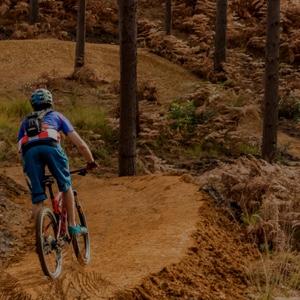 © Sue Keating @ Trail Team Swinley
 © Chase Trails
 © Pedal A Bike Away
 © Crown Copyright
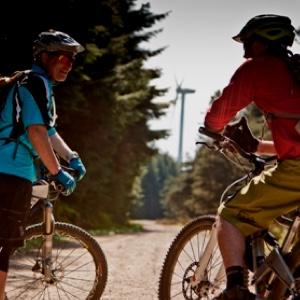 © NPTCPC
 © Oneplanet Adventure
 © Crown copyright (2018) Visit Wales
 © Antur Stiniog
 © Moray Speyside Tourism
 © Buccleuch
 © Glentressforest.com
 © Nevis Range
 © Crown copyright
 © Forestry Comission