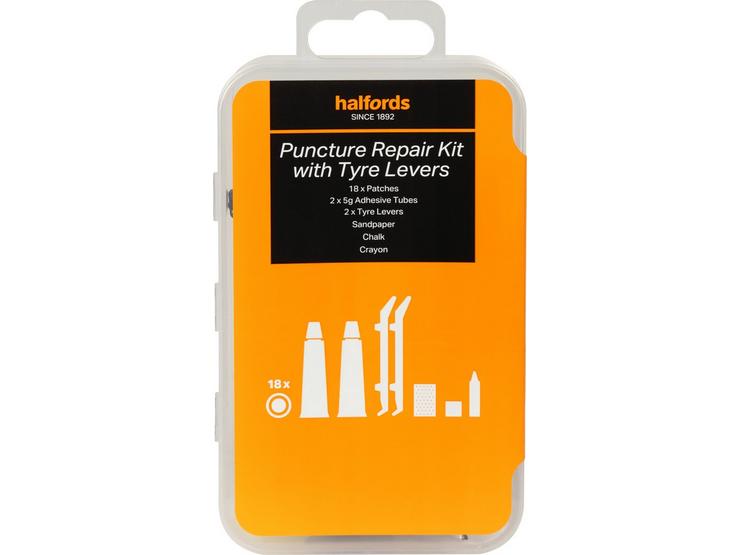
Halfords Essentials Puncture Repair Kit with Tyre Levers - Large
533098
Ways to apply
- Build your basket and select Trade Credit at checkout.
- Apply below to check your eligibility.
Activate your limit
- If eligible, receive your Trade Credit limit instantly.
- Authenticate your business with an ID check*.
*Only required on your first Trade Credit purchase.
Pay on account
- Complete your purchase and pay on account at the end of the following month.
- Enjoy no interest or transaction fees**.
**Late payments can impact your business credit
Already applied and have a limit? Approve your order via SMS to finalise your purchase.
Shop now. Pay later. Always interest-free.
-
Add your favourites to basket
-
Select Clearpay at checkout
-
Log into or create your Clearpay account, instant approval decision
-
Your purchase will be split into 4 payments, payable every 2 weeks
Clearpay lends you a fixed amount of credit so you can pay for your purchase over 4 instalments, due every 2 weeks. Ensure you can make repayments on time. You must be 18+ and a permanent UK resident (excl Channel Islands). Clearpay charges a £6 late fee for each late instalment and a further £6 if it's still unpaid 7 days later. Late fees are capped at £6 for orders under £24 and the lower of £24 or 25% of the order value for orders over £24. Missed payments may affect your ability to use Clearpay in the future and your details may be passed onto a debt collection agency working on Clearpay's behalf. Clearpay is credit that is not regulated by the Financial Conduct Authority. T&Cs and other eligibility criteria apply at clearpay.co.uk/terms
Halfords Essentials Puncture Repair Kit with Tyre Levers - Large
533098
- Includes : 18 patches, 2 adhesive tubes, 2 tyre levers
Halfords Essentials Puncture Repair Kit with Tyre Levers - Large
The Halfords Essentials Puncture Repair Kit with Tyre Levers provides an essential kit for when you have that dreaded puncture.
Features & Benefits:- 18 x patches
- 2 x 5g adhesive tubes
- 2 x tyre levers
- Sandpaper
- Chalk
- Marker Crayon
- Remove the wheel from the bike
- Remove the valve cap and retaining nut
- Use the tyre levers included to remove the tyre
- Insert the tyre levers between the tyre and the wheel rim directly opposite the valve
- Engage one tyre lever under the bead of the tyre and engage second lever 1-2″ (30-50mm) from the first lever then pull both levers toward spokes to lift bead off the rim
- Disengage one lever, then move it two inches (5cm) along the rim and engage the lever in the bead, then pull the lever to lift the next section of bead off the rim
- Repeat engaging the lever until the bead loosens, then slide the lever along the rim under the bead until the tyre comes free of the rim on one side
- Do not use a screwdriver, knife, or other sharp objects, which might damage tyre or tube
- Remove the tyre and carefully run your fingers along the tyre checking for thorns or glass
- Remove the inner tube and inflate the tube slightly - this will make it easier to identify where the hole is by listening for the air escaping.
- Once the hole has been located, mark using the crayon included.
- Use the sandpaper to roughen the area around the hole
- Apply enough glue to cover an area a little bigger than the repair patch that you need.
- Allow the glue to dry before applying the patch
- Remove the foil from the back of the repair patch and centre it over the hole, pressing it down firmly for 60 seconds
- Grate the chalk included on the back of the pack around the patch to absorb the rest of the glue.
- Re-insert the tube, tyre and wheel


